A leaking radiator some of us have experienced it; others have been lucky enough not to encounter it. But those that have will never forget it. That patch of wet carpet or even that pool of water to be one day found underneath a radiator. In short, it’s the experience of a radiator leak. It’s annoying; even infuriating if it damages your carpet.
But what can you do about it, should it happen to you? Well, this article takes a look at the issue, its aim being to arm you with knowledge so you can spring into action to unsparing that leak – and minimise any damage done to a carpet or, alternatively, floorboards.

Before we plunge into our seven-step-guide, though, a word to the wise – should you encounter a radiator leak, the very first thing to do is to collect together towels and a big bucket. Because the opening order of business is to mop up that water – and to have something on hand should the leak persist as you’re fixing it!
How To Fix A Radiator Leak
1. Locating the source of the leak
2. Fixing a leaking valve
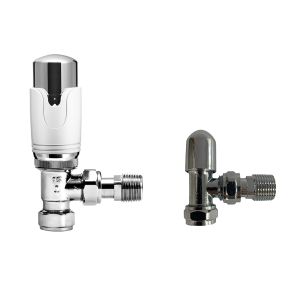
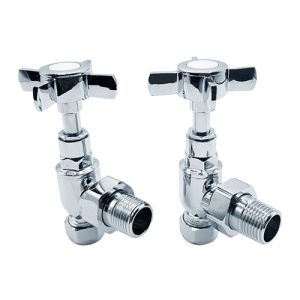
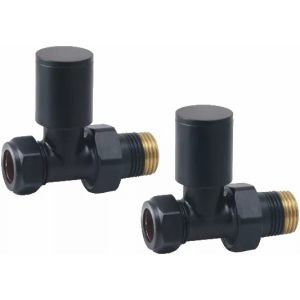
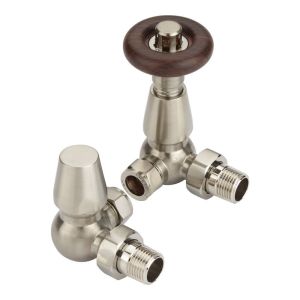
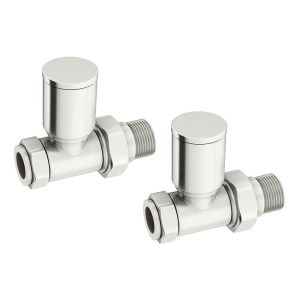
If you discover it’s the valve that’s leaking, then – relatively speaking – you’re in luck. That’s because a valve-derived leak is definitely one of the easiest to put right. You might well find that, during your investigations for the leak source, should the valve be the culprit, the leak stops when you fully close it. The reason would no doubt be because the spindle-packing inside is either damaged or worn out – in this scenario, when the valve’s ‘mid-open’, it leaks.
Repairing the valve then requires a short procedure. First, drain the water out of the device to a point below the leak and turn off both the supply valve and the lockshield valve. Be sure you have the towels and bucket in place to prevent any further water spillage during your repair and grab an adjustable spanner. With this you need to undo the union nut (which connects the radiator and the feeder pipe), then open up the bleed valve to release the remaining water from the device before wrapping PTFE tape (otherwise known as thread seal tape or ‘plumber’s tape’ ) around the valve tail (at its ‘male end’) 10-15 times. Finally, do up the union nut and re-open the bleed and lockshield valves. Be sure that, once water’s flowing back into the radiator, the leak’s patched up.
3. Replacing a leaking valve
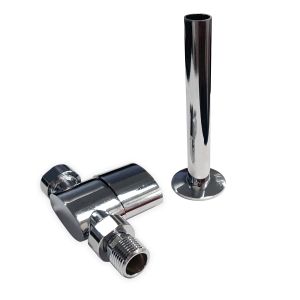
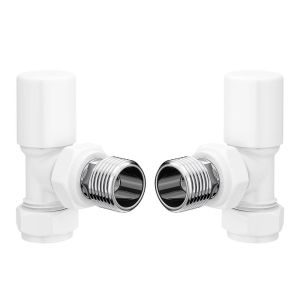
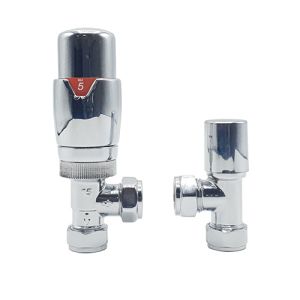
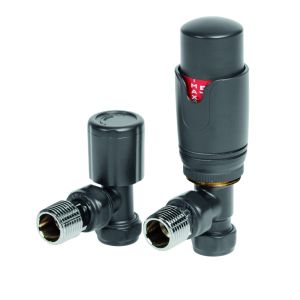
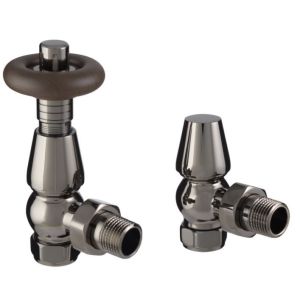
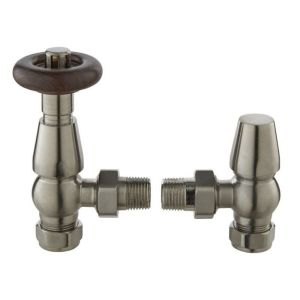
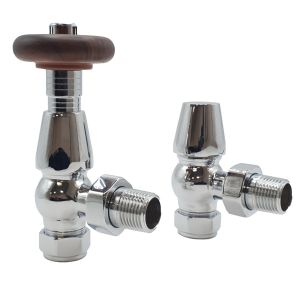
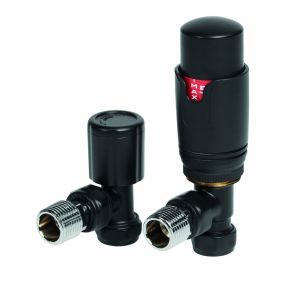
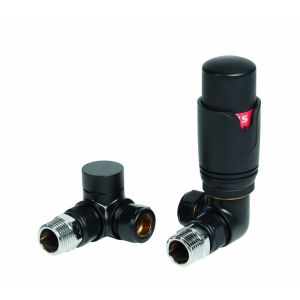
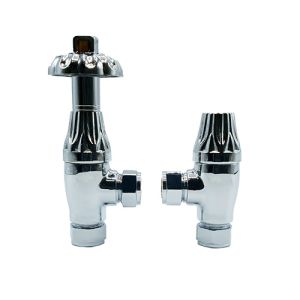
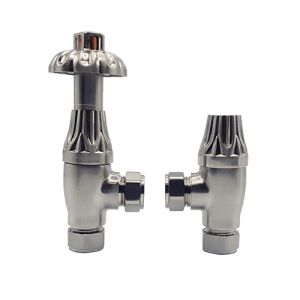
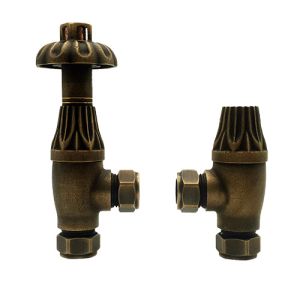
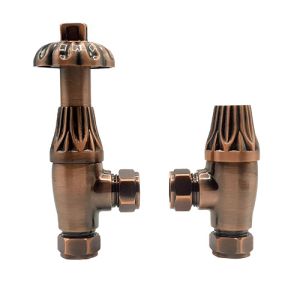
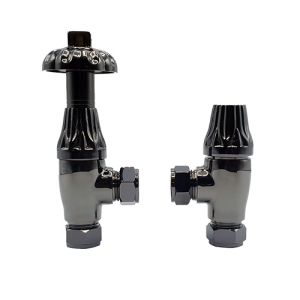
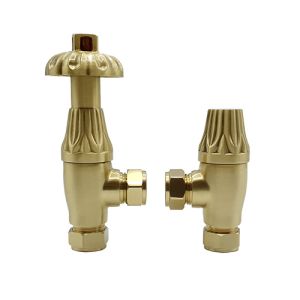
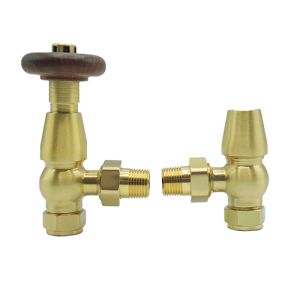
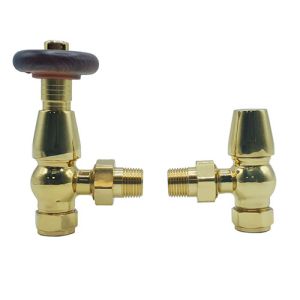
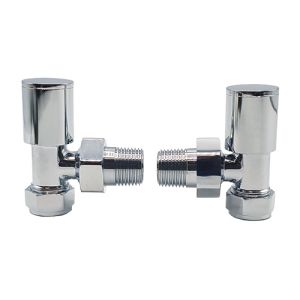
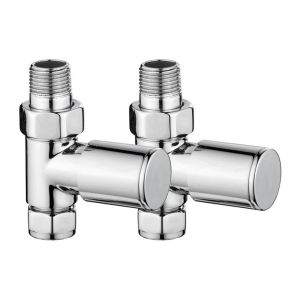
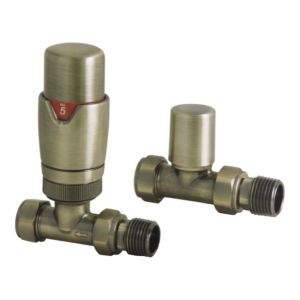
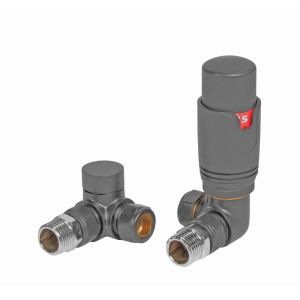
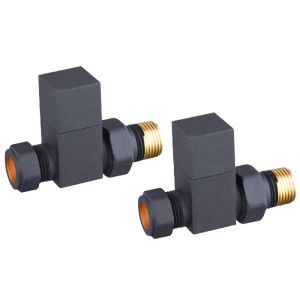
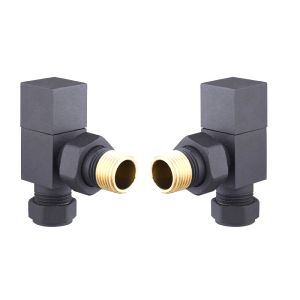
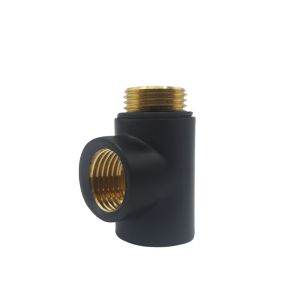
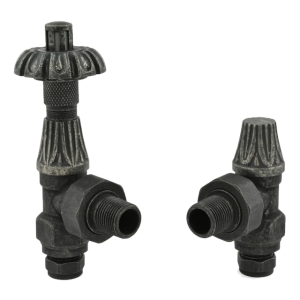
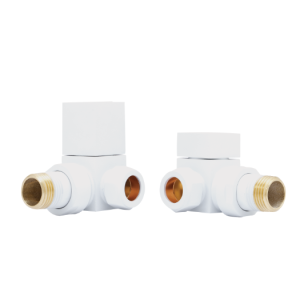
If you’re the sort who lives by the maxim of being safe, not sorry, then instead of repairing a leaking valve, you may seek to replace it. Ideally, you’ll look to fit the same type of valve in place of the faulty one; otherwise, a new one probably won’t align with the radiator’s water pipe effectively. When you’re ready to change over the valves, ensure you’ve drained the entire system of water, then unscrew all the nuts that connect the piping to the valve and then the valve itself. We have a vast range of radiator valves for you to choose from.
Remember that the radiator’s threads should be cleaned (to achieve a smooth fit for the valve) before wrapping PTFE tape around the threads of the new adapter and screwing it into the device. Finally, don’t forget to slide the valve’s cap-nut and a new olive over the pipe’s end before filling up the system with water again and bleeding the radiators to release any trapped air. Note – it may be that you feel this process is a little too involved for you to manage; if that’s the case it may be wise to call on the services of a trained professional for the job.
4. Is the radiator corroding?
Corrosion is a common culprit of radiator leakage – otherwise known as ‘pinhole leaks’. Indeed, it tends to occur thanks to sludge building up inside the device and, unfortunately, it’s a problem that’s impossible to properly cure, yet you can treat it. Until you buy a replacement radiator (which, ultimately, is your only solution here), you might want to apply a resin sealant to slow down the flow of sludge – note, this should only be attempted if your hot water system features feed and expansion tanks (which work to maintain the level of water throughout the system) and not in a sealed heating system.
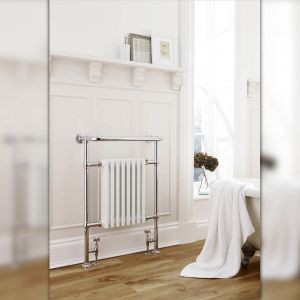
Needless to say, once you actually have bought a nice new radiator to replace your sludge-afflicted one (whatever the type; whether it’s one of the many elegant, traditional radiators on the market or it’s a modern, dynamic type), you’d be highly advised to add to the water in your system a rust and corrosion inhibitor. It should prevent lightning from striking twice – at least for a few years!
5. Is the spindle the source of the leak?
If you discover the spindle (the small protruding part of the valve) is indeed the problem, then don’t fear; it’s fairly simple to put right. In fact, you may only need to tighten the gland nut with a spanner to eliminate the leak. If that doesn’t work, try instead undoing the nut and winding around the spindle itself a suitable amount of PTFE tape and doing the nut back up. Should that not prove successful either, then replacing the valve – by following step 2 above – could well be required.
6. Is the coupling nut or gland the problem?
If the source of the leak is the valve coupling nut, then like above with the spindle and the gland nut, you may find you can fix this by merely tightening the coupling nut. Alternatively, you’ll probably have to remove and replace the olive to be found inside the coupling. This requires more work, admittedly; kicking off with draining the water out of the system, and then loosening and removing the nut from where it connects the pipe and the radiator. You’ll then be able to remove the exposed olive from the pipe and replace it with a new one. Don’t forget to smear this with a sealant or wrap around it with PTFE tape before you do so. Failing this; replacing the valve may be in order.
But what if the leak is emanating from under the valve’s plastic cap – or its gland, as it’s alternatively referred to? Here, PTFE tape is your friend. Turn the valve off and, ideally, turn off the lockshield valve too, then after removing the plastic cap, carefully and without harming it unscrew the gland nut. And now the clever bit – take about 20cm of the tape and wrap it around the valve’s spindle then, with the end of a screwdriver, push this ring of tape into the valve, adding a little grease on top. Having screwed the gland nut back on as tight as you can, replace the cap and turn on the valve once more.
7. What if the pipe joint is the problem?
Our final step concerns compression valves. These are common if your property or rented home has a modern central heating system, as this type of valve is usually called on to join pipework to radiators. To wit, if this sort of joint is responsible for the leak, there’s a good chance you can put the problem right merely by using a spanner to tighten the valve.
Alternatively, if that doesn’t do the trick, drain the system of water to below the leak point and, using a spanner once more, twist off the nut at the joint to free the pipe. Now, you’ll be faced with the olive set against the joint; so wrap some PTFE tape around this meeting and screw the nut back on. Hopefully, that will do the job and prevent any further leaks.
In the main, of course, modern, newly purchased radiators are reliable pieces of kit that don’t tend to spring leaks – but sometimes the unfortunate does occur. So if your radiator suddenly does develop a leak, just follow this guide and its steps to stem the flow and prevent an even wetter floor and even more wasted water. Good luck! If you do need to buy a new radiator from us at designer radiators direct. Then why not take a look at our BTU calculator. The perfect place to start to replace a leaking radiator, this will tell you the required heat output for your home and inform your decision tenfold. Browse our many models of electric radiators and vertical radiators or our full range of designer radiators.
If you have any questions regarding our products or services, don't hesitate to contact us today!


