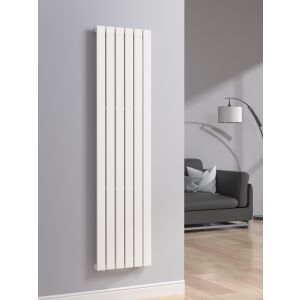
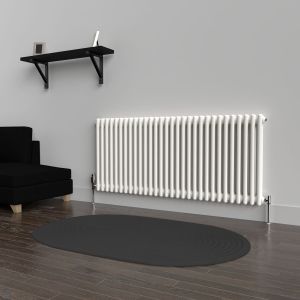
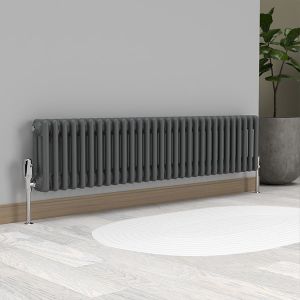
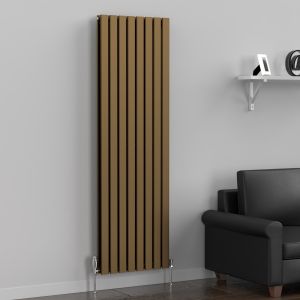
Once upon a time, stepping out of your bath onto the cold floor tiles underfoot was unavoidable – and uncomfortable; removing all the enjoyment and goodness you might get from a long, languorous scrub in the tub. Now, though, those days may be over thanks to electric underfloor heating, which is quickly becoming essential as part of a bathroom design (at least, that or a high-quality bathroom-specific radiator like a heated towel rail or one from the array of electric radiators on the market).
But back to underfloor heating; it’s a fine option if you prefer something more discrete than a wall-mounted heat provider – in fact, something so discrete it can’t be seen at all, offering total design freedom and keeping your toes toasty and the rest of you and the room warm and snug as can be.
Now, you may be wondering, of course, what’s the deal when it comes to installation? It’s going to be hugely involved, right? Well, it depends on how you look at it – and, in fact, it is possible to install such a system on your own. That said; connecting the electrical components and testing it has to be carried out by a qualified expert, which means specific parts of the job must be done by a professional and can’t be a DIY job that you undertake yourself.
Preparing the installation
To successfully prepare for the work you’ll need to clean the workspace, so it’s entirely free of clutter enabling you enough space and room to get the work done properly. So then, with suitable care, you’ll need to measure the room under which the system is installed.
You’ll also need to consider and recognise the genuine impact the heating system will have on the room; for instance, will you need to raise the floor to an acceptable level? Indeed, you’ll have to find out whether the floor rooms floor is can tolerate different heat levels, which means you’ll have to consider the thickness of the underlay
Plus, bear in mind too that the floor needs to be totally flat; to ensure this you’ll need to carry out a structural check to see if any alterations to the floor’s necessary and, should it be wooden, whether it’ll require priming as well.
Materials you’ll need
To carry out the installation successfully, you’ll require:
- a tape measure
- a sweeping brush
- a wood primer (although this is optional)
- screws and a screwdriver (if required, to secure floorboards)

How long will it take?
[Depending on the system type, the size, and the amount of preparation work needed, installation could take from two to four days. However, the skills and knowledge of the labourer should also be considered.]
Carrying out the installation
- Install matting – cut the matting to size, then attach it to the insulation and lay the tiles/ flooring on top
- Where should the system be installed? – the installation will need to cover the parts of the room used the majority of the time (e.g. the areas where the toilet, basin, bath and shower are located, as opposed to hidden areas like behind cabinets)
- Site the insulation – it’s critical the insulation will sit within cables or mats; this ensures heat is properly and efficiently generated and spreads around the room. You should line walls with edge insulation as well
- Lay the flooring and tiles – once the installation’s complete, replace the flooring and, of course, the tiles in the room
- Install the electrics – as mentioned, this should only be carried out by a properly, fully qualified professional.
So, to reiterate, it is possible to successfully complete an electric underfloor heating system if you’re a competent, experienced DIY enthusiast, so long as you make sure you do the due diligence and advanced preparation and, of course, don’t cut corners.


