Where’s the leak coming from?
When it comes to a leaky radiator, the first thing you need to do is to locate exactly where the water is leaking from. It’s pretty simple to do so – merely seeing you use a towel to dry the radiator all over and so isolate the water leak’s source. As a part of this process, you should also use a few segments of toilet tissue to dab at the fixtures (or unions) of the unit. It’s helpful to bear in mind too that, usually, radiator leaks come from either the unit’s body, a bleed point, a valve or a pipe that pumps water into the radiator.
Bleed a radiator
Bleed valves are very common sources for a leaky radiator and relatively easy to put right. They tend to come about because the spindle-packing inside the little bit of radiator kit that’s the valve has got damaged or may have worn out. Although, despite closing the valve from its (likely) ‘mid-open’ position will stop the leak, it’ll doubtless start again when the valve’s reopened; so to repair it, drain the radiator of all the water it contains to below the level of where the valve is located (and the leak is occurring), then switch off both the unit’s supply valve (which allows water into the radiator) and the lockshield valve.
You’ll then, having placed a towel or bucket underneath the valve, want to undo the union nut (which connects the feeder pipe to the short pipe into the radiator and the bleed valve), so you can open the bleed valve itself, ensuring the remaining water in the unit leaks out fully and into the bowl. Following this, you can then wrap PTFE (or plumber’s) tape around the ‘male’ end of the valve a number of times to create a makeshift seal. Finish up by tightening up the nut and reopening the bleed and lockshield valves. Now, if when you switch the radiator back on, there are no more leaks, you can close the bleed valve once more. For more information on this process, check out our blog.
How to replace a bleed valve
The directions above will only result in a makeshift solution; it’s not exactly a long-term answer to your leakage issue – you may then come to the conclusion you really need to replace the leaky bleed valve. Naturally, your best bet is to purchase a similar sort of valve to that which you’re replacing; otherwise, it may not fit with the radiator’s feeder pipe satisfactorily (and automatically spring a leak!). To install the new valve then, be sure you unscrew all the nuts that help connect the feeder pipe to the valve and remove the old valve. Then clean the thread on the radiator with which the new valve will fit; cut off some PTFE tape again, wrap it around the new valve’s adapter, before screwing the latter on to the radiator – but be mindful not to screw it on too tight lest you damage it or the radiator thread. Finally, replace the bleed valve’s cap-nut and olive over the pipe before placing the new valve on the pipe-thread itself.
Is the valve’s spindle at fault?
This can often be the cause of a leak; the spindle being the shaft-like centre of the valve. It may be you’ll have to replace the valve, as outlined above, even if you’ve narrowed down the leak to the spindle, but should you have done the latter, at least do the following before throwing out the valve and getting a new one – merely undo the gland nut and wind a liberal amount of PTFE tape around the spindle (or, alternatively, cut off about 20cm of the tape in a very narrow strip, wind this around the spindle and carefully push it down the shaft deeper into the valve with a screwdriver), and then do the nut back up again.
Is corrosion the cause of the leaky radiator?
Unfortunately, whether you apply a make-and-mend approach to radiator valves and their constituent parts, replace valves or bleed radiators, some units still have issues and spring leaks because of simple wear and tear. A major symptom of which is sludge finding its way into the insides of the radiator, clogging up the unit and causing it to corrode and spring ‘pinhole’ leaks on the surface, as the sludge becomes a blockage in a space of constant high-water-pressure.
As you may have guessed, there’s no real fix or repair possible for a corroding radiator – apart from buying a new one, of course, which is inevitably what you’ll have to do. That said, until you get around to doing that (perhaps when you’re ready to upgrade your home’s heating system and have a new range of radiators installed), you can do something; applying a plastic resin sealant to the unit. And then, of course, when you do install a replacement radiator, be sure to add to the water a corrosion/ rust inhibitor to try and prevent the problem occurring all over again.
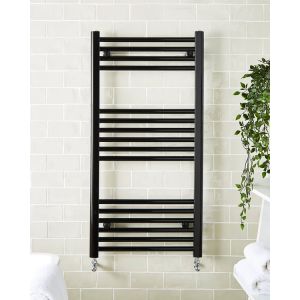
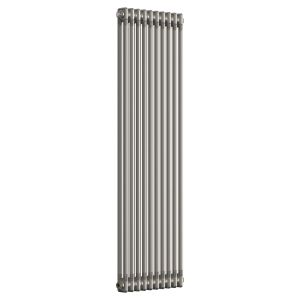
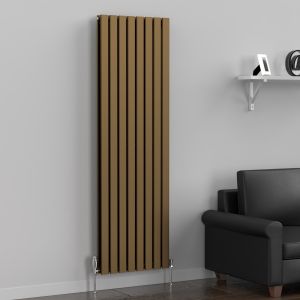
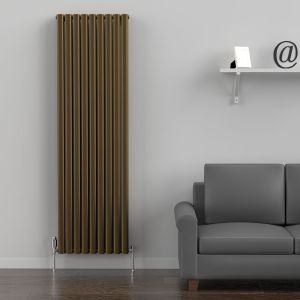
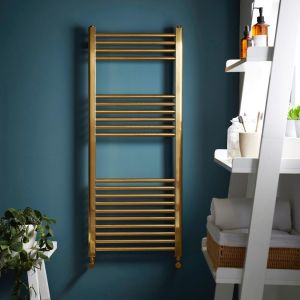
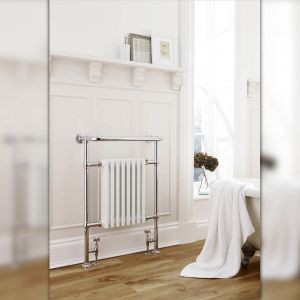
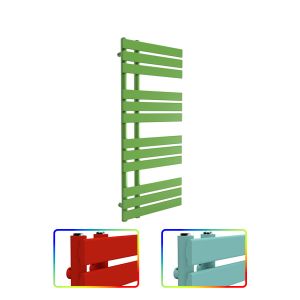
If you're looking for a replacement , check out our huge range of designer radiators.


