A hot water boiler-based central heating system is a fantastic thing. It ensures that, when it’s operating correctly and efficiently, via radiators located in a home’s rooms, the home is reliably heated – and remains warm; all snug, cosy and, yes, homely, especially in the cold, winter months.
That said, a hot water system’s a wonderful thing so long as it doesn’t run into problems. If and when that happens, it can leave homeowners bereft; utterly befuddled as to why their radiators aren’t working = and how to put the issue right. In most cases, the best thing to do is call on the services of a qualified professional heating engineer so they might assess the problem and fix it.
Yet, should you fancy yourself an effective DIY-er (and, let’s be honest, there are thousands of people throughout the UK who are) then, if you discover a mix of hot and cold spots on the surface of the radiators throughout your house, then the problem may be fixable without outside help. Why? Because what may be needed is to balance the system – and here’s how you yourself can do it…

Equipment you’ll need to balance your hot water system
- A radiator-bleeding key
- An adjuster for Lockshield valves or an appropriate spanner
- A screwdriver (may be needed to help open screw-featuring Lockshield valves)
- A digital thermometer or a multimeter that features a thermometer function
Your step-by-step guide to balancing your home radiators
- First up, you’ll need to ensure all the radiators in the system have been successfully bled; this involves opening each radiator’s valves (possibly with a radiator-bleeding-key), catching any dripping water from it and enabling all built-up air to escape before turning the valves off again. Following this, it’s imperative you check that all the radiators have then cooled after you’ve turned the entire central heating system off.
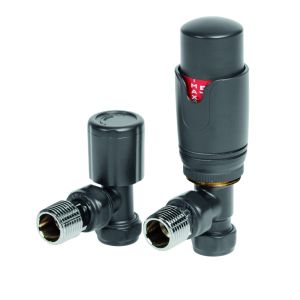
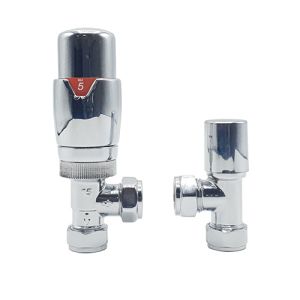
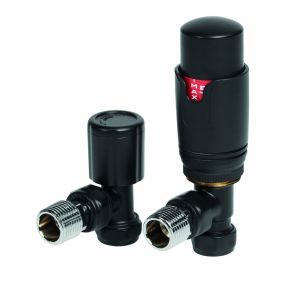
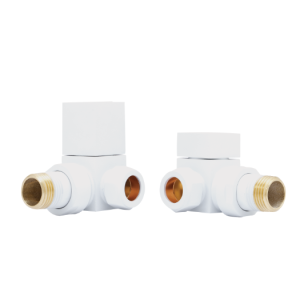
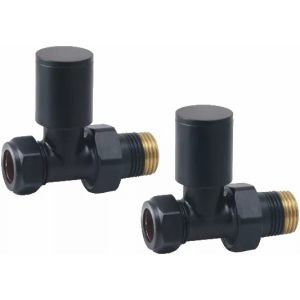
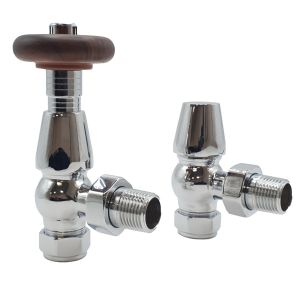
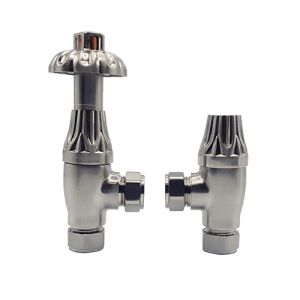
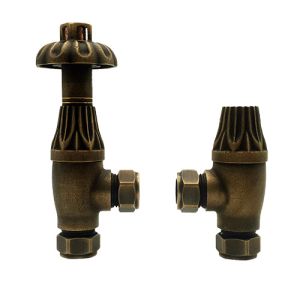
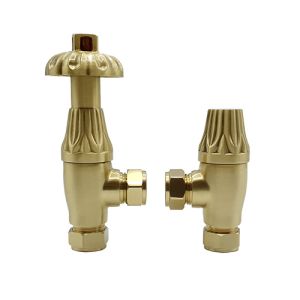
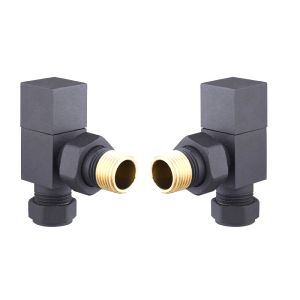
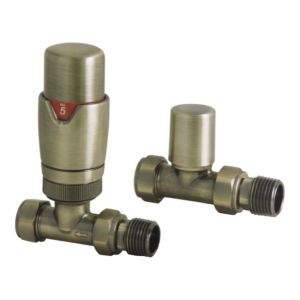
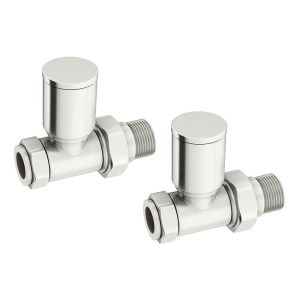
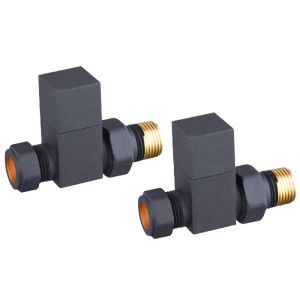
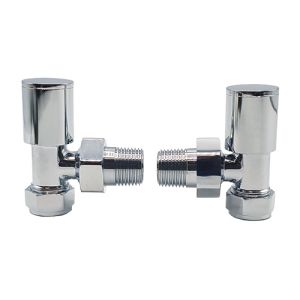
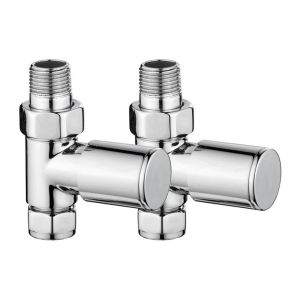
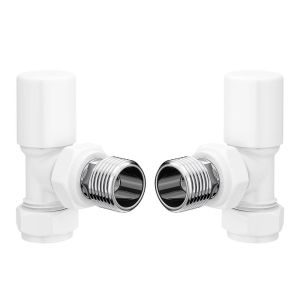
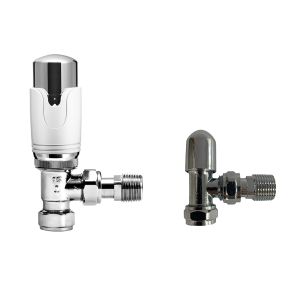
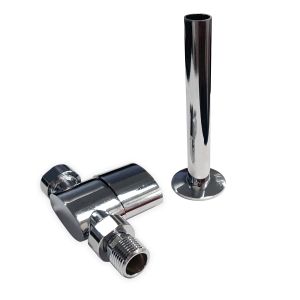
- Take a few moments now to familiarise yourself with the valves of your various radiators. You need to do this because you’ll have to identify the Lockshield valve, as this particular valve on each radiator is crucial to balance the system; unlike other valves, you’ll find that a Lockshield valve features a push-on cap that’s fixed to the valve via a screw running through its centre.
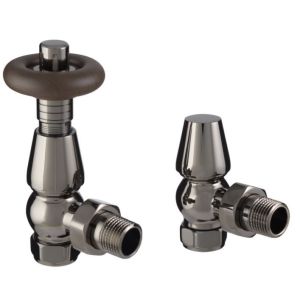
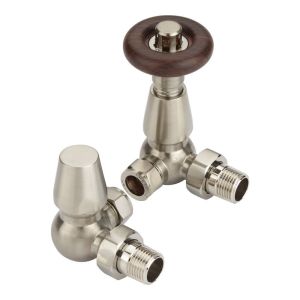
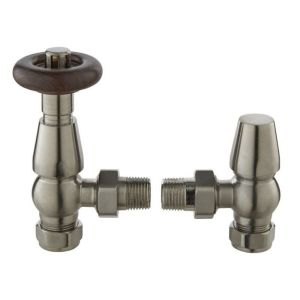
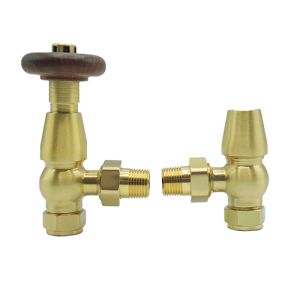
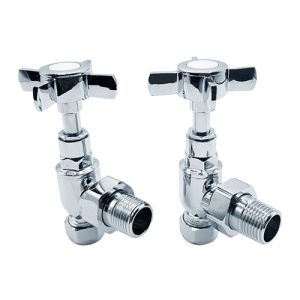
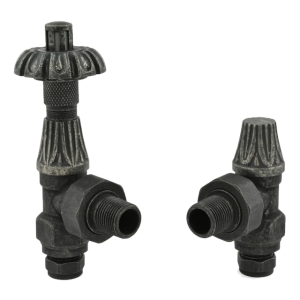
- Note that older radiators tend not to be fitted with Lockshield valves; instead, they’re equivalents are wheelhead valves. Traditionally, yes, such valves were topped by a small wheel-head; often though, they tend to look very tap-like, even more so than any other kind of radiator valve.
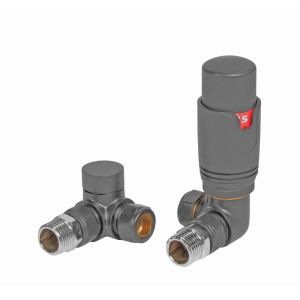
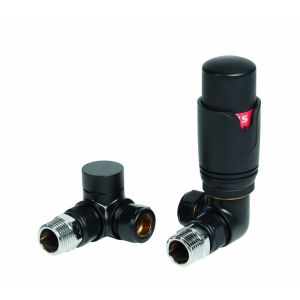
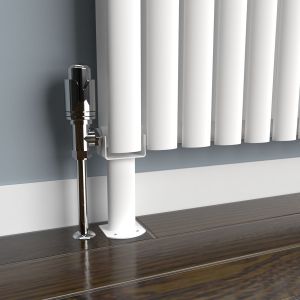
- When it comes to newer radiators, you’ll find that a number of them instead feature thermostatic valves (these can be set to ensure that the individual radiator switches on and off according to the temperature of the room in which it’s installed); that’s instead of either Lockshield or wheelhead valves.
- Now, it’s time to open the Lockshield/ wheelhead/ thermostatic valves on every radiator in the system; to do this, turn the valves anti-clockwise. You’ll find that, while wheelhead and thermostatic valves can be easily turned by hand alone, Lockshield versions are a bit more of a challenge, as they require a specially-made adjuster to open effectively. Still, if you’re resourceful and delicate enough, you might well be able to open them with the aid of a handy spanner.
- At this point you should turn the central heating system back on and, while you wait for each radiator in turn to warm up as the hot water spreads through the system, make a note of the order in which the various radiators heat up. Be aware that you’ll more than likely need someone to help you with this, as you’ll need to quickly move between rooms and touch radiators (daintily, so as not to burn yourself!).
- Turn the central heating off again and, once more, wait for each and every radiator to totally cool. Then the heating can be switched on once more.
- Following this, move to the first radiator you noted down and, by turning its Lockshield/ wheelhead/ thermostatic valve clockwise, close the valve; then open it by a quarter of a turn anti-clockwise.
- The radiator’ll warm up again; once it has, scoop up your digital thermometer or multimeter and take a reading of the temperature at the pipework that leads to any one of the valves fitted to the radiator.
- Now, using the digital thermometer/ multimeter again, take a temperature reading at the pipework that leads to the unit’s other valve and, once you’ve noted what that reading is (mentally or otherwise), open the Lockshield/ wheelhead/ thermostatic valve once more, but slowly; until the temperature reading is different by 12°C compared to the very first temperature reading you took for this radiator. It ought to take about two minutes for the temperature change to occur.
- Finally, repeat steps 7-10 above for every one of the system’s other radiators in the order you noted them down a few moments ago. It’s almost guaranteed that the further away in the house you get from the hot water boiler, the more you’ll have to turn the Lockshield/ wheelhead/ thermostatic valve on each radiator to open it – you may need to open the final two or three fully for the process to work properly.
Once you’ve completed the whole task, the entire system should be balanced throughout every radiator in the house and now work effectively – no more hot and cold spots… hopefully!


