Underfloor heating installation isn’t as complicated as you might think and allows homeowners to free up wall space previously taken up with radiators and potentially add value to their homes without a huge financial outlay.
In many cases, homeowners with a little DIY knowledge can successfully install their own underfloor heating and create a great new heat source that provides an even and comfortable temperature throughout. If this sounds like you, read our guide below on how to install underfloor heating yourself and discover why it’s not as complex a process as you might have previously thought.
Plan Your Layout
Many people decide to install underfloor heating in areas that tend to lose a lot of heat, such as a conservatory as a first project. Not only does this give them the opportunity to test the benefits of underfloor heating for themselves, but it allows them to hone their skills for future installations to the rest of the house.
To get started, you’ll need to decide where you’ll be carrying out the underfloor heating installation and plan your layout. Measure the footprint of the space accurately and make sure that you leave a gap of around six inches from the walls and any door frames.
If your space is a little awkward and has curves, it's always a good idea to order slightly more underfloor heating mats than you actually need. Although this will raise your underfloor heating cost slightly, it is essential that you have enough materials to complete the job rather than having to order more and cause unnecessary disruption around the home.

Make sure that you also include any underfloor heating accessories such as a thermostat and a sensor when you place your order as this will also help to save you some time.
Read the Instructions
Once your underfloor heating materials have arrived, take the time to read and understand the installation instructions as this will save you time in the long run.
Next, it’s time to take up any floor coverings and clear the area of anything you won’t need during the underfloor heating installation process as the more free space you have to work, the better.
If you have a multi-meter handy (or can borrow one), it's a good idea to get an accurate resistance reading from the end wires that come off the underfloor heating mesh mat as this will tell you if the mats are working correctly before you install them.
If everything is fine, then you're free to move on to the next step.
Extra Insulation
To avoid losing heat, we recommend that you also add some extra insulation to your underfloor heating order. This is placed underneath the heating mats and stops heat escaping to the ground below. It is very simple to install on your own with a few cutting tools and a little time.
Once this has been laid, it is time to place your underfloor heating mats on top on the insulation. This is very easy to do on your own as the underfloor heating comes in a rolled-up matt, so it’s as simple as unrolling each mat and putting it in the correct position.
Be sure that the mats join up but do not overlap and secure them with duct tape. Remember that you’ll need to leave a six inch gap between the mat and any walls too.

Another thing to look out for is the two wires that come from the underfloor heating mats as these will eventually be connected to your thermostat, so ensure that you position the wires in the correct place during the underfloor heating installation process.
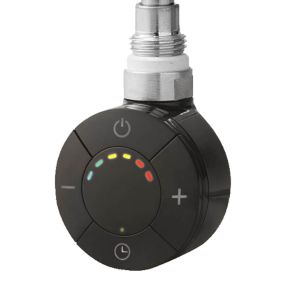
A good quality thermostat won’t raise your underfloor heating cost all that much, but you’ll definitely need one to finish the job off. You’ll also need a sensor to check that your underfloor heating is working properly, and this should be fitted before you add your floor covering.
Finishing Touches
Once your insulation and underfloor heating mats are in place and secure with the sensor connected, it’s time to connect your thermostat with the wires from the heat mats as previously discussed.
Once this has been done, and the thermostat has been mounted on the wall, you'll need a qualified electrician to connect your underfloor heating installation to the mains and sign the project off as safe.
As soon as the electrician has done this, you are free to replace the flooring and enjoy wonderful underfloor heating that will provide you with an innovative heat source for many years to come.


