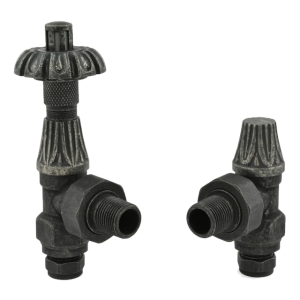
Bleeding a radiator is one of those common household chores which many of us shy away from, for fear of getting it wrong. However, learning how to do so effectively can help to keep your heating system healthy and functional. In this blog, we'll give you a step-by-step guide to bleeding your radiator, as well as highlighting some of the key reasons why you should harness this useful skill.

Step 1: Turn On the Heating
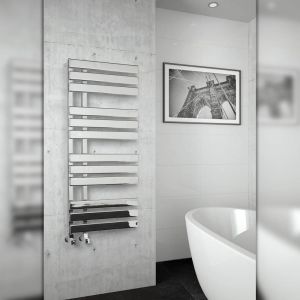
As the crucial first step of the process, turn the heating on so all of your radiators and towel radiators have a chance to heat up. It's important to wait until they're fully heated before proceeding to step 2, as the pressure within the radiator needs time to build.
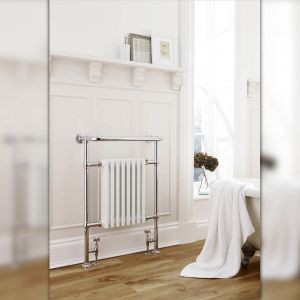
It's only after your home heating system has fully clicked in that you'll be able to check for problems. It's important to note that this step of the process is essential regardless of the type of radiator you have – whether it is a traditional radiator or something more modern.
Electric radiators do not require bleeding, so if you do have an electric radiator or an electric towel radiator you can leave these out.
Step 2: Test Your Radiators
After your radiators have been heated, they are now ready to be tested. Be thorough in checking each of them, and assess for any cool spots. This is a sure sign that your radiator/s requires bleeding.
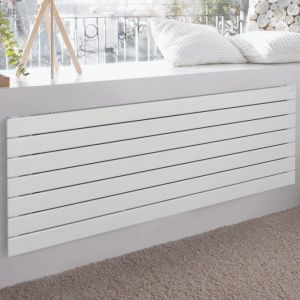
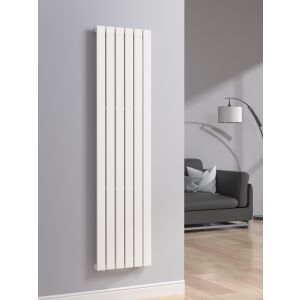
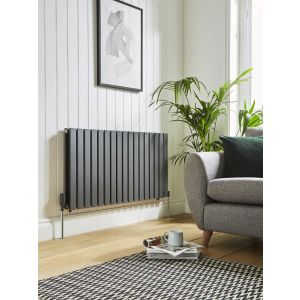
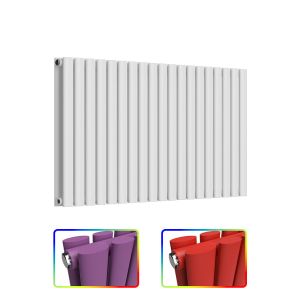
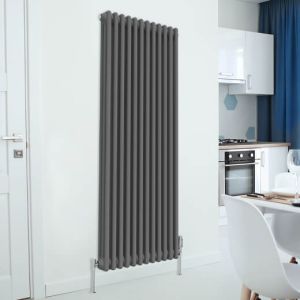
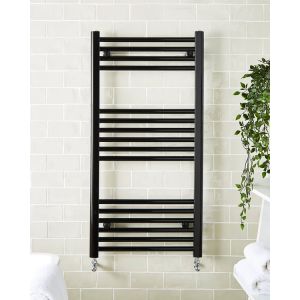
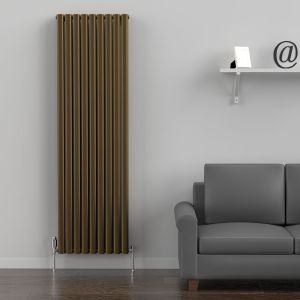
One of the most common spaces to find cool spots is the top of the unit, as this indicates there might be either air or gas trapped inside. This needs to be released to get your radiators working at full capacity once more. As with step 1, this process remains the same for all kinds of radiators, including compact radiators and vertical radiators.
It is up to you whether you decide to bleed all the radiators in your property, or merely the ones where you have identified a clear problem.
Step 3: Bleeding Your Radiators

Once you've established which radiators need to be bled, remember to switch the central heating back off. Allow a little time for them to cool down, or you risk damage from burns which can otherwise be avoided.
Another potential hazard of this process is the possibility of spilling water onto the floor, so be sure to have a cloth or towel ready to catch drips and another to place on the ground, ready to prevent damage to any furnishings or carpets.
To begin bleeding your radiator, you will need either a radiator key or a flat-top screwdriver. Both are available to buy from DIY stores quite easily and are used to open the valve on the top of your radiator.
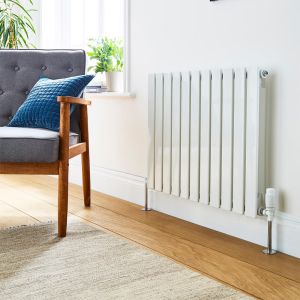
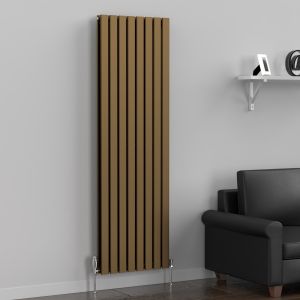
Finding this valve should also be relatively simple, even on vertical radiators. It is located on one end of the radiator, and to bleed the radiator you will need to attach the key or screwdriver using the groove. Holding firmly with a cloth, turn the screwdriver or key gently in an anti-clockwise motion.
You will be able to tell if gas is escaping, as this will be accompanied by a quiet hissing noise. When the gas has all been removed, you now need to close the valve quickly – water follows, and tends to leave the radiator with some force. Be sure to wear clothes which you don't mind getting a little mucky during this stage!
Step 4: Check Your Radiator Pressure

It’s almost inevitable that water will leave the heating system as well as gas, which then reduces the pressure of your heating system and may reduce its effectiveness. After you've bled all the radiators you need to, check the pressure by looking at the gauge on your boiler.
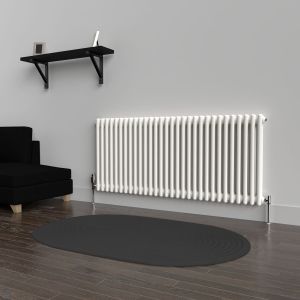
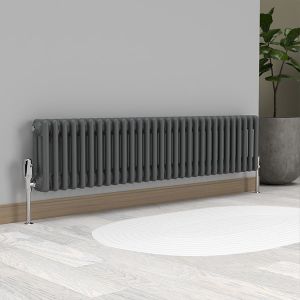
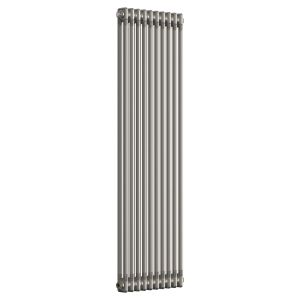
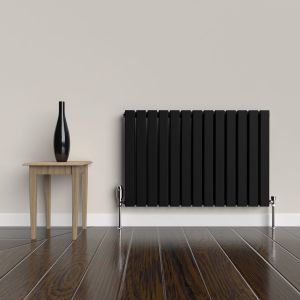
In the instance the pressure has reduced too dramatically, you can top this up by using either the lever or tap on the boiler. This is commonly referred to as the filling loop and is an integral part of every heating system, including the one attached to all forms of radiator (including column radiators).
The specifics of this part of the process will differ depending on your system, though the basic process remains the same. Some boiler manufacturers and stores where you can buy radiators online offer specific tutorials and further information on adapting this stage to different systems.
Why Bleed Your Radiators?
This may all seem like a lot of stages to go through, but bleeding your radiators allows you to keep your property warm and cosy – particularly important during the colder months of the year. A functional heating system also makes sense from a financial standpoint, helping to reduce your energy bills by cutting down on wastage.
Is your radiator still cold after bleeding? Check out our blog for a guide on what steps you can take to fix the issue.
Speak To Our Radiator Specialist For Advice
Are you in need of a new radiator? If so, check out our huge range of designer radiators on our sale page. We have hundreds of options for you to choose from, so you can rest easy knowing we have something to suit your heating needs and décor.
If you have any questions regarding bleeding your radiator, or if you need any advice please contact us today. Our award-winning customer service team will help you out with either your current radiator or will help you find a new radiator ideal for your space.


