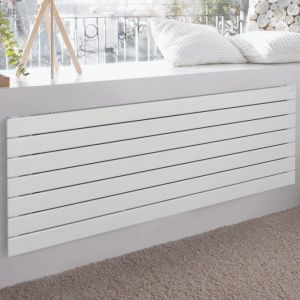
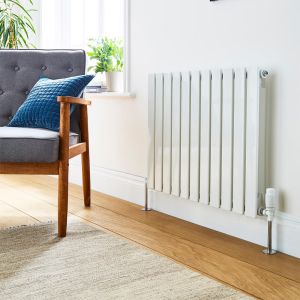
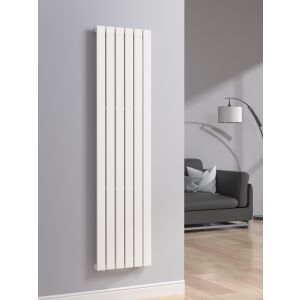
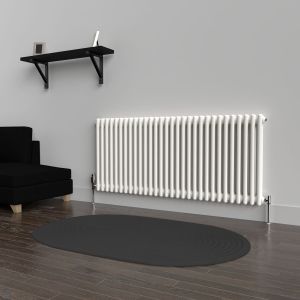
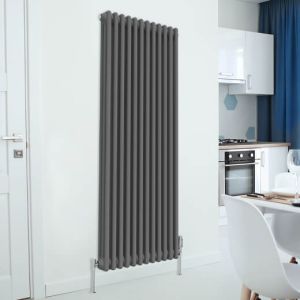
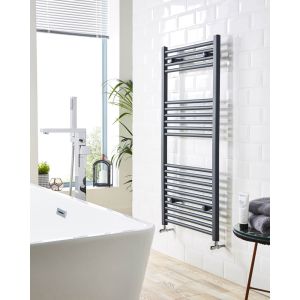
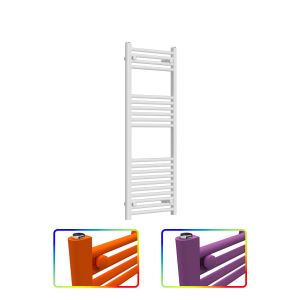
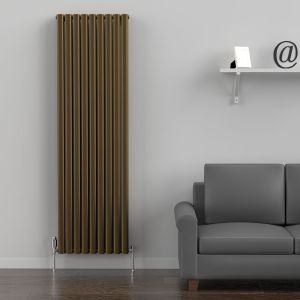
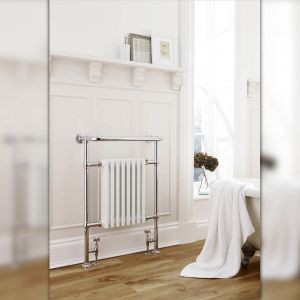
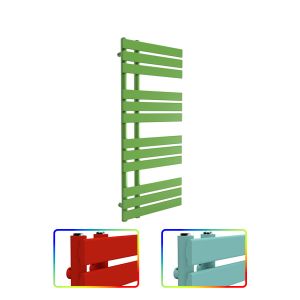
Doing a little decorating this year? There’s nothing quite like the satisfaction you get from applying a fresh coat of paint to any room in the house. Unfortunately, it’s not always straightforward and you may find a radiator or two in the way of your roller. We’re here to tell you that you don’t need to let the prospect of having to take your home radiators off the wall dampen your enthusiasm for DIY. A standard rad is easy to remove when painting (and to put back again).
Read on for our quick guide to removing either vertical radiators or horizontal radiators from your walls with the minimum of fuss.
Close the Valves On Your Home Radiators
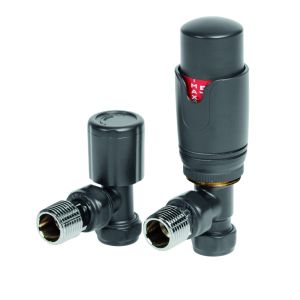
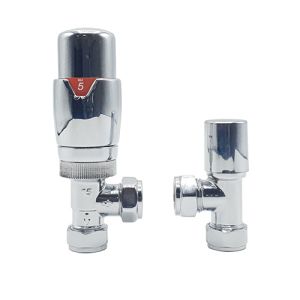
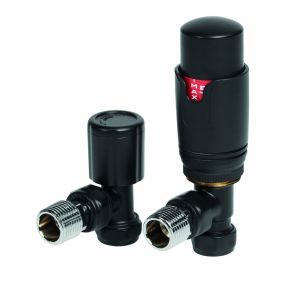
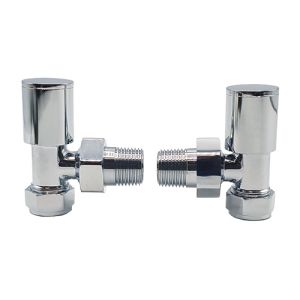
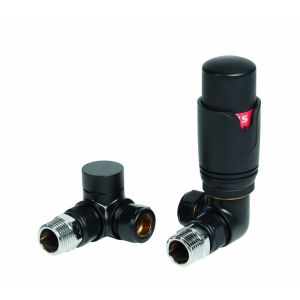
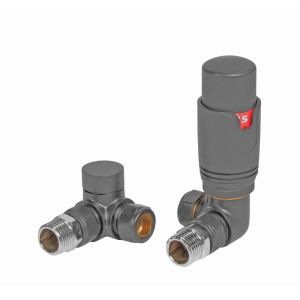
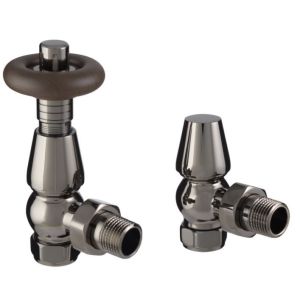
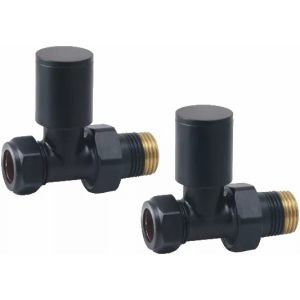
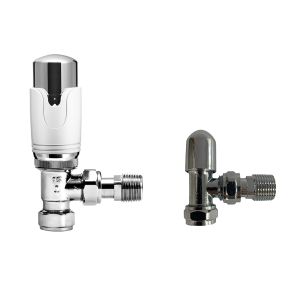
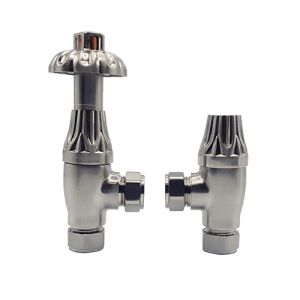
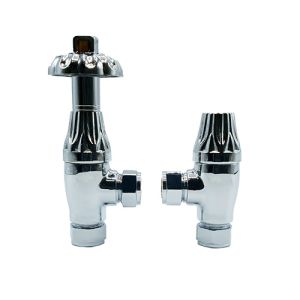
If you’re going to be removing your living room radiators, then the first thing you’ll need to do is turn the valves to close them. Next, remove the plastic lockshield cap and turn the spindle clockwise with an adjustable spanner.
It’s worth making a note of how many turns it took to close the radiator valves as you’ll want to repeat the same process to open them back up again later once you’ve finished painting.

Protect Your Flooring
Taking any radiators off the wall so you can paint behind them can be a little messy. Make sure that you have some old sheets or towels to hand so that you can protect your carpets or wooden floors from any water or sludge that might still be present in the radiator when removing it.
Loosen the Nuts
Next, loosen both nuts while asking a friend or family member to hold the bowl or tub. You’ll need them to capture any water that leaks out from the radiator you’re taking off the wall. Once the radiator is fully bled, use your spanner to loosen the lockshield nut and carefully lift your radiator from the wall and place it out of the way. You can now paint the area. A top tip to stop your pipes from getting splattered with paint as you paint behind the radiator is to cover them in plastic bags, so make sure you’ve got a few handy before you whip out your paintbrush.
Put Your Radiator Back On the Wall
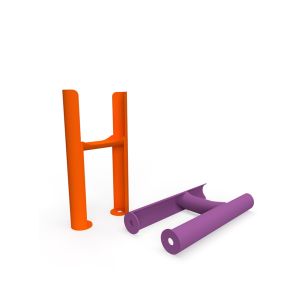
Once you’ve finished painting and you’ve given your new colour enough time to dry properly, it’s time to put your radiators back on the wall using the mounts. Make sure that the pipework and valves line up correctly, and using your adjustable spanner, open the valves back up again. Make the same amount of turns you used when closing them earlier before refilling the system.
As the radiator begins to fill back up again (this will take a few minutes), use your radiator bleed key to allow any trapped air to escape from the system. If you don’t do this, you could find you get noisy radiators that suffer from cold patches later on.


