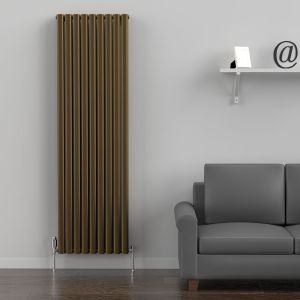
Renovating your home is a great way of showcasing your individual taste and style, so it’s no wonder that many homeowners undertake some form of DIY or home décor project at least once a year.
Many of us will know the feeling of hitting a stumbling block that puts a halt to our plans for a room makeover, and radiators in the wrong position can seem like a big challenge to overcome.
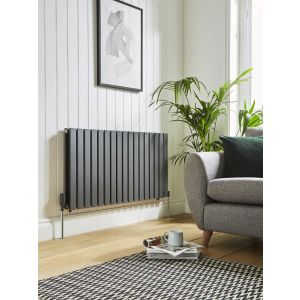
Instead of packing up your decorating tools and feeling disheartened, don’t worry! It is entirely possible to move your designer radiator into a whole new position in the room so that it gets the prominence it deserves without getting in the way of the rest of your DIY and décor plans.
7 Step Guide To Moving Your Radiator Across The Room
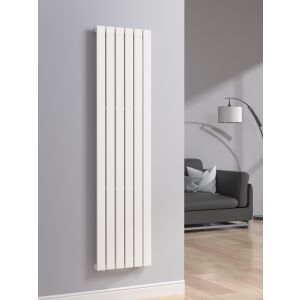
Here’s a simple to understand seven-step guide detailing how to move your vertical radiator across the room with minimal fuss.
1. Check your pipework
Before you decide where you’ll be moving your new designer radiator to, it’s important that you check the current pipework route so you can see where the pipes are already running. You can then determine if you’ll need a qualified plumber to re-route any pipework to position your new vertical radiator in the place you want it.
To do this, you'll have to lift your carpets, floor coverings and floorboards to trace the current pipework route, so it's a good idea to rope in a friend or family member to give you a hand.
If the pipework doesn’t currently run near to the wall you want to place your designer radiator on, you’ll need to engage the services of a qualified plumber but if it does, then move on to the next stage.
2. Safety first!
Before you do anything, make safety a priority. Turn off the boiler and any controls before moving on to stage three. If the system is already warm, wait a while until the radiators have cooled down.
3. It’s time to drain down
Next, it’s time to drain down the entire system on the floor that you’ll be relocating your vertical radiator on. You won’t need to isolate any radiators, just drain it all down and make sure that you turn off the water to tanks if it’s a gravity fed system.
4. Hang your designer radiator
Now its time for you to hang your new designer radiator, so make sure that you have your measurements for brackets and pipes all correct before you start. Once your radiator is hung and looking sleek, alter any pipework as noted in the first phase of this guide and connect it.

5. Deal with the old feeds
Before you start refilling your system, make sure you don't forget about those old feeds that you no longer require or you could end up with big problems when you come to switch everything back on!
Cap off the old feeds safely before moving on to the next stage.
6. Add inhibitor, refill system and bleed
Next, you’ll need to add your inhibitor before you start refilling the system. Once this is done and you’re waiting for the system to fill back up again, pop the kettle on for a well-deserved cuppa while you wait.
You’ll also want to bleed your designer radiator once more to ensure that there’s no air getting into the system and causing it to run less efficiently.
7. Time for a final test
Finally, it's time to test all of your radiators on the floor you've been working on and balance if required. Hopefully, everything will be just fine, and you can stand back and marvel at your new vertical radiator in its new position on your wall.
Time To Replace Your Radiator?
If you're in need of a new radiator, check out our huge range of designer radiators. This is where we sell top quality brands and models such as column radiators, cast iron radiators and grey radiators.
When choosing a new calculator it's important to know the required BTU of the room. To work this out we have created a handy BTU calculator to help you find your perfect radiator.
If you're looking for a radiator on a budget, with excellence guaranteed, then don't forget to check out our radiators on sale. For an affordable option on a designer radiator.


